This tutorial covers flashing your speaker with the ESPHome SendSpin-ESP32 firmware.
PLEASE NOTE
This is such a comprehensive tutorial with MANY screenshots, that has been copied from a prior tutorial.
Unfortunately, I do not have time to repeat the process just to screenshot new photos - many of them refer to "LOUD" or "LOUDER" vs. "LOUDER-PLUS"
I have changed the links (STEP 3) for the correct LOUDER-PLUS YAML file.
Step 1 — Ensure you have ESPHome Device Builder installed in HA
This is a Home Assistant application that onboards and prepares ESP32 (and other) devices for use with Home Assistant.
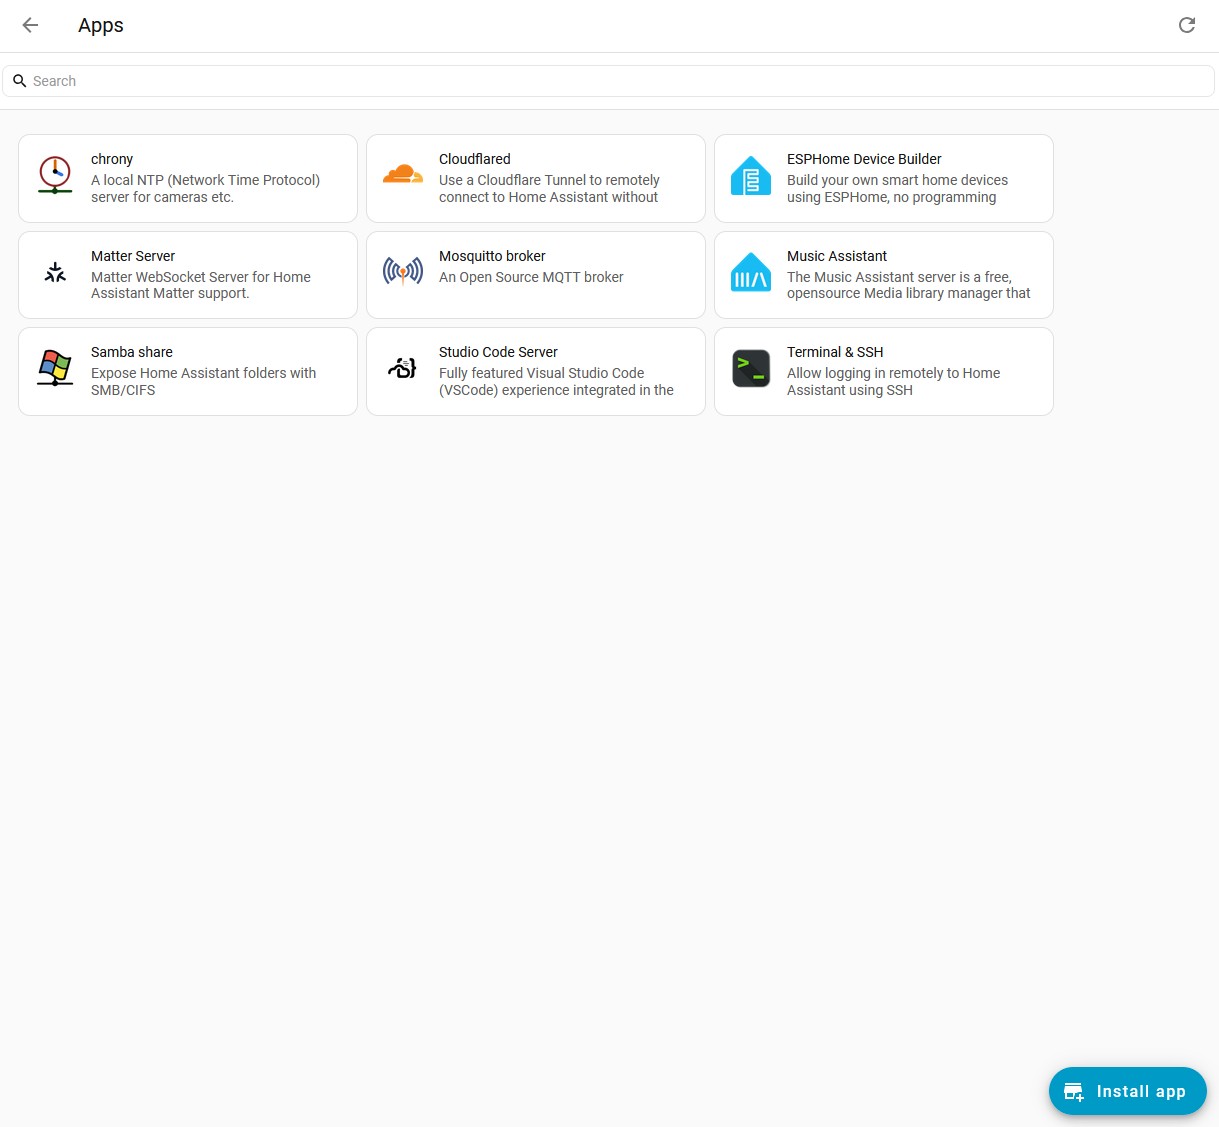
In Home Assistant, Click on Settings, then Click on Apps
If you do not see the ESPHome Device Builder on this page, use the blue button at the bottom to install it
type in ESPHome Device... in the search bar
Select the one with no additional names (not Experimental, not Developer)...just plain "ESPHome Device Builder"
Step 2 — Install ESPHome (starter) firmware
Open the ESPHome web-based firmware installer in a browser: https://web.esphome.io/
Connect the ESP32 LOUD board to your computer with the USB-C cable
In the ESP Device box on the screen, Click on Connect and select the serial connection in the pop up box.
Click on "Prepare For First Use"
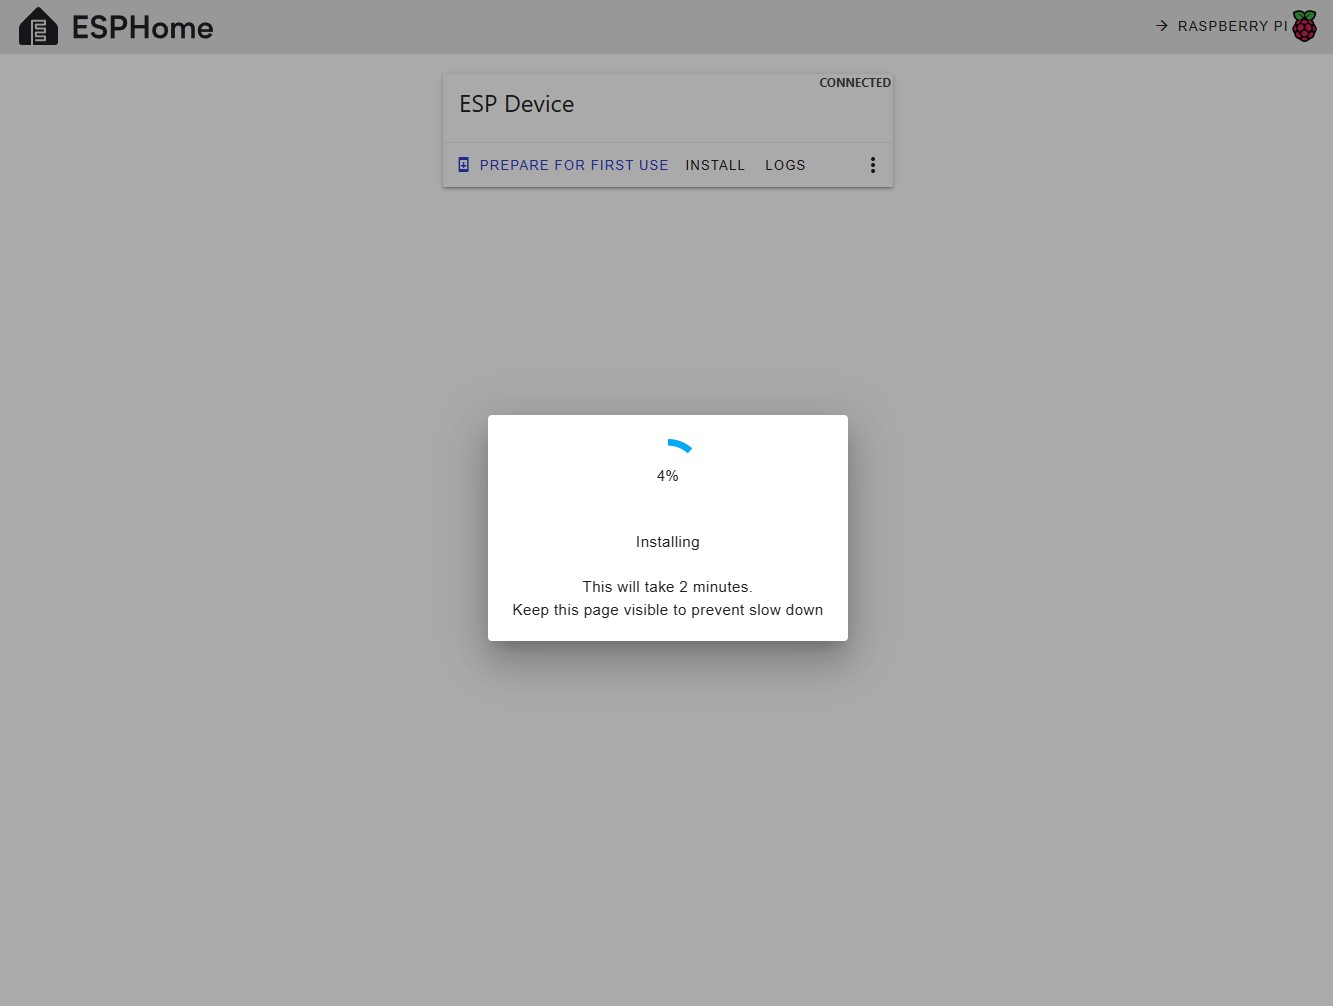
Wait for the firmware to install
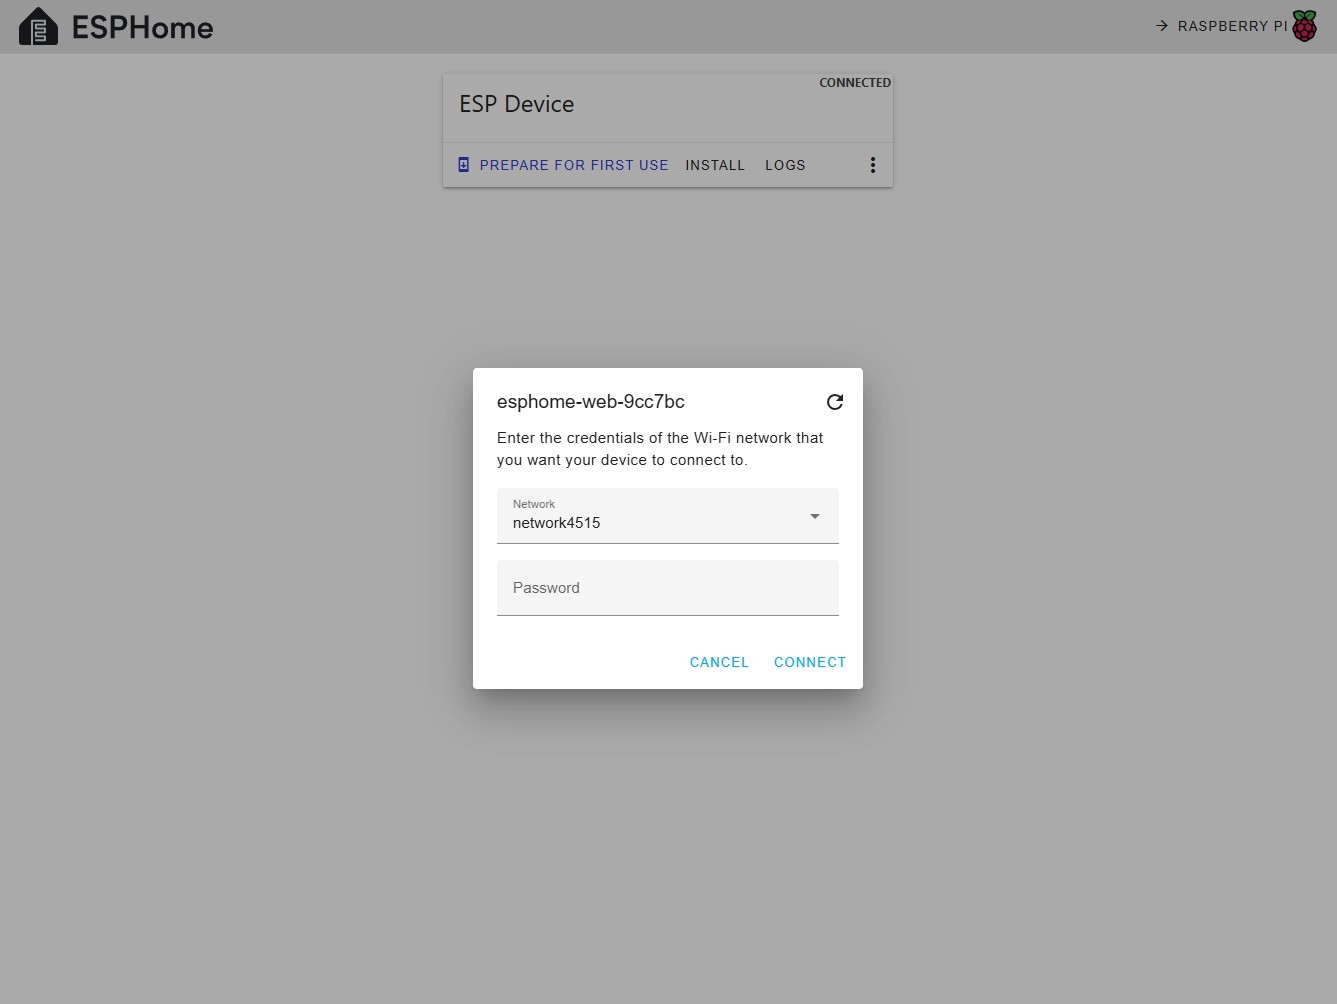
When finished be sure to write down the new device name - you will need it later
In this example, the device name is "esphome-web-9cc7bc"
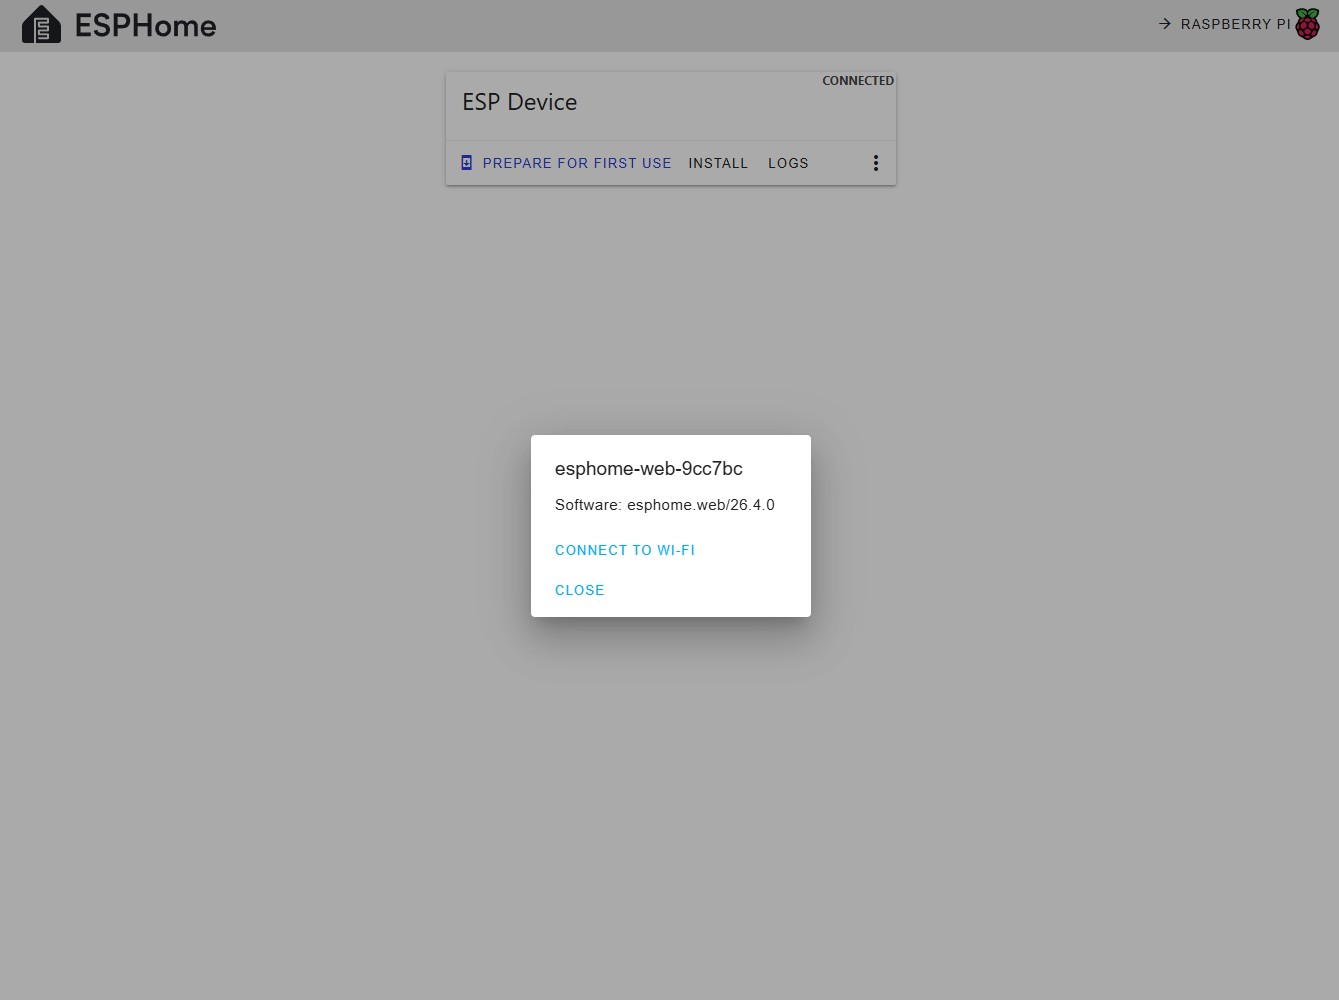
Enter your home Wi-Fi credentials
Click Connect
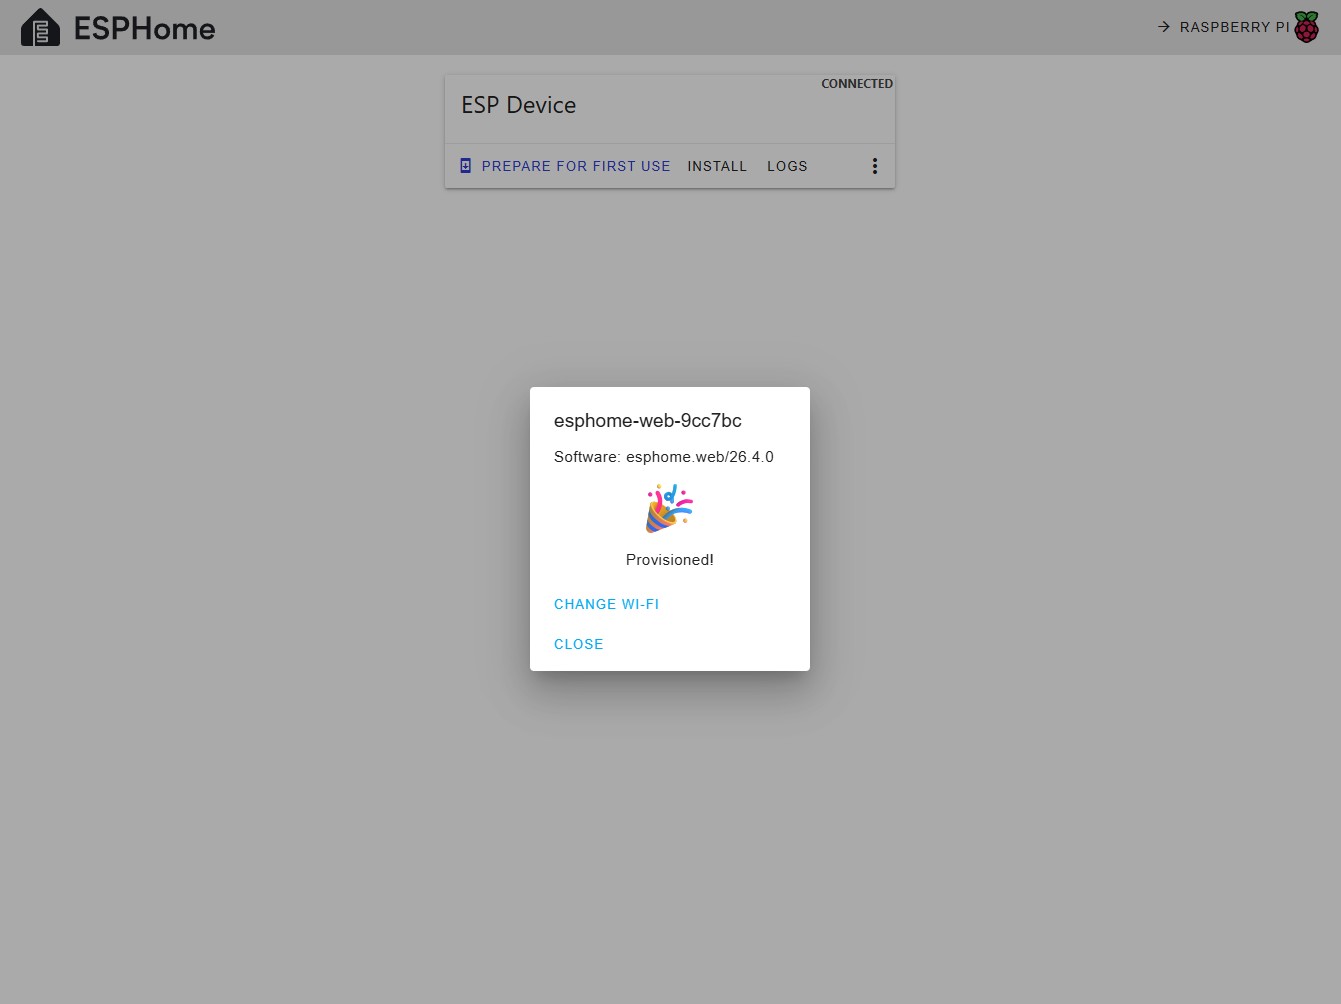
When HA connects to the device, you have completed the Initial Provisioning
You may Click CLOSE inn the dialog box
Keep the web browser open for the next step
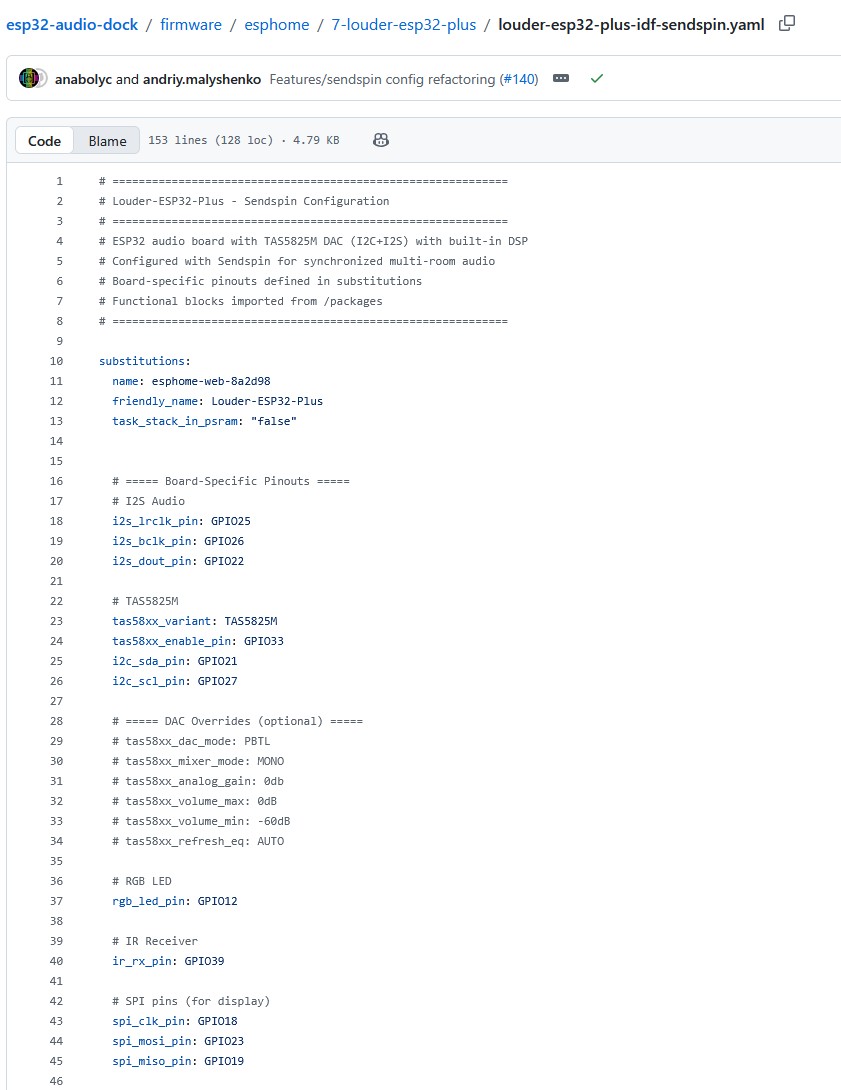
Step 3 - Download the YAML code needed for SendSpin
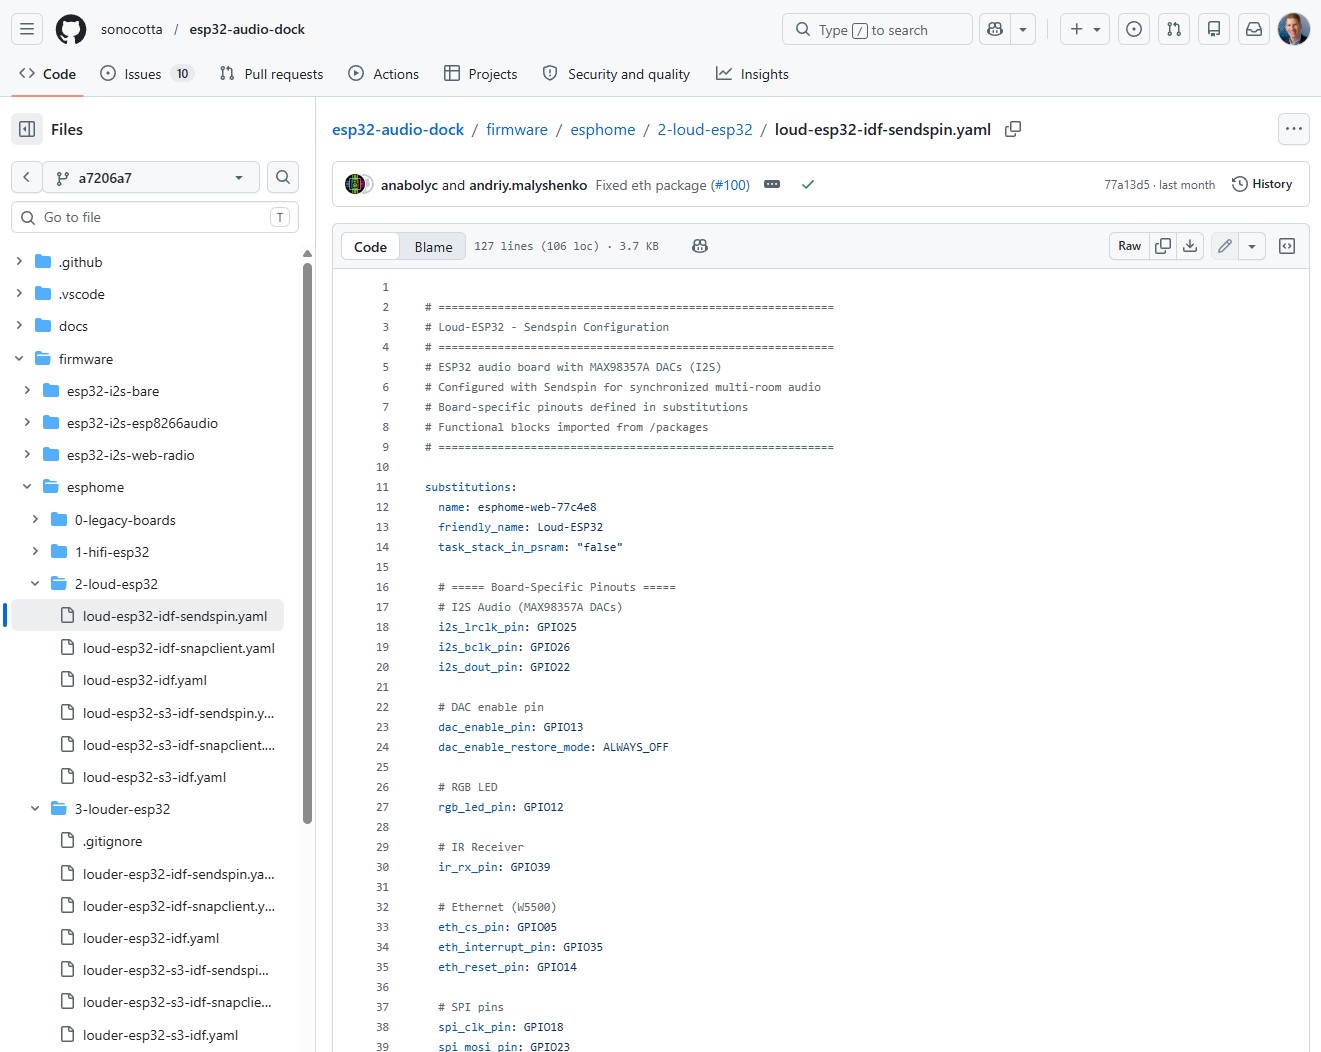
ESPHome Device Builder will need a configuration file used in building the firmware. Luckily Sonocotta keeps these files already prepared in a GitHub repository. Other than a few small edits, everything is ready for you.
Please note - every board is different and has several (also different) YAML configuration file options available depending on firmware needed. You must use the file that corresponds to the board you are using.
The link below is specifically for the ESP32-LOUDER-PLUS board in this DIY tutorial.
Download the YAML configuration file for ESP32-LOUDER-PLUS-SENDSPIN:
Open in a text editor (e.g. Notepad in Windows)
Edit three lines
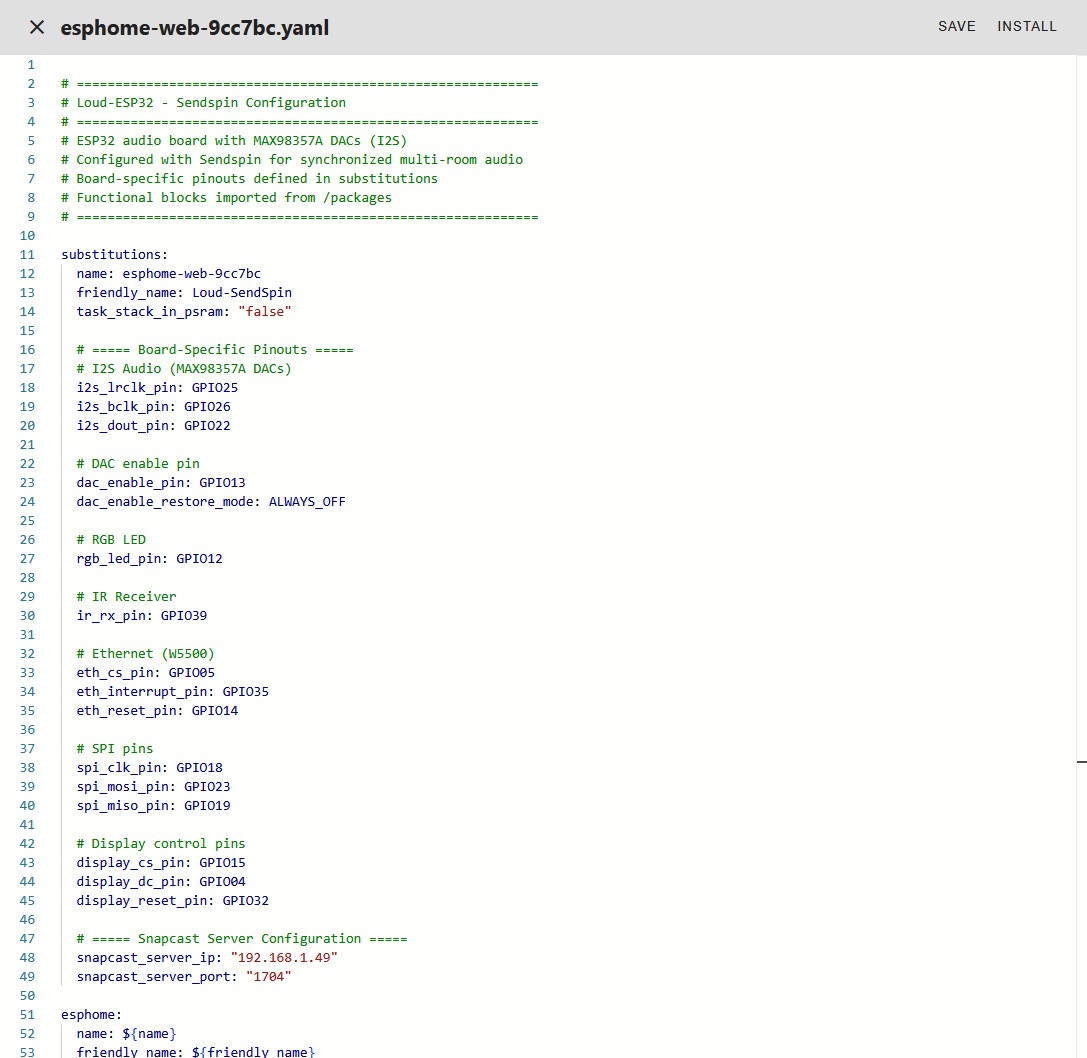
a. in the first section labeled "substitutions", change the first line to the name you wrote down from step 1
I have already changed it to name: esphome-web-9cc7bc (esphome-web-9cc7bc was the name assigned in step 1)
You will have a slightly different suffix
b. you may optionally change the friendly-name in the line below
c. scroll down to the line with logger_level. You should change this to WARN or INFO
DEBUG will flood your log file with a lot of unnecessary information.
SAVE this file for the future!
Step 4
— Prepare ESPHome Device Builder to install the firmware
Open ESPHome Device Builder
Click on SECRETS in the top right corner
Add the top 4 lines to the secrets.yaml file, replacing everything in the quotes with your network ssid and password
the ota_password is a new password you will create; keep this saved somewhere
NOTE - this SECRETS file is different than the secrets yaml file created in HA Configuration
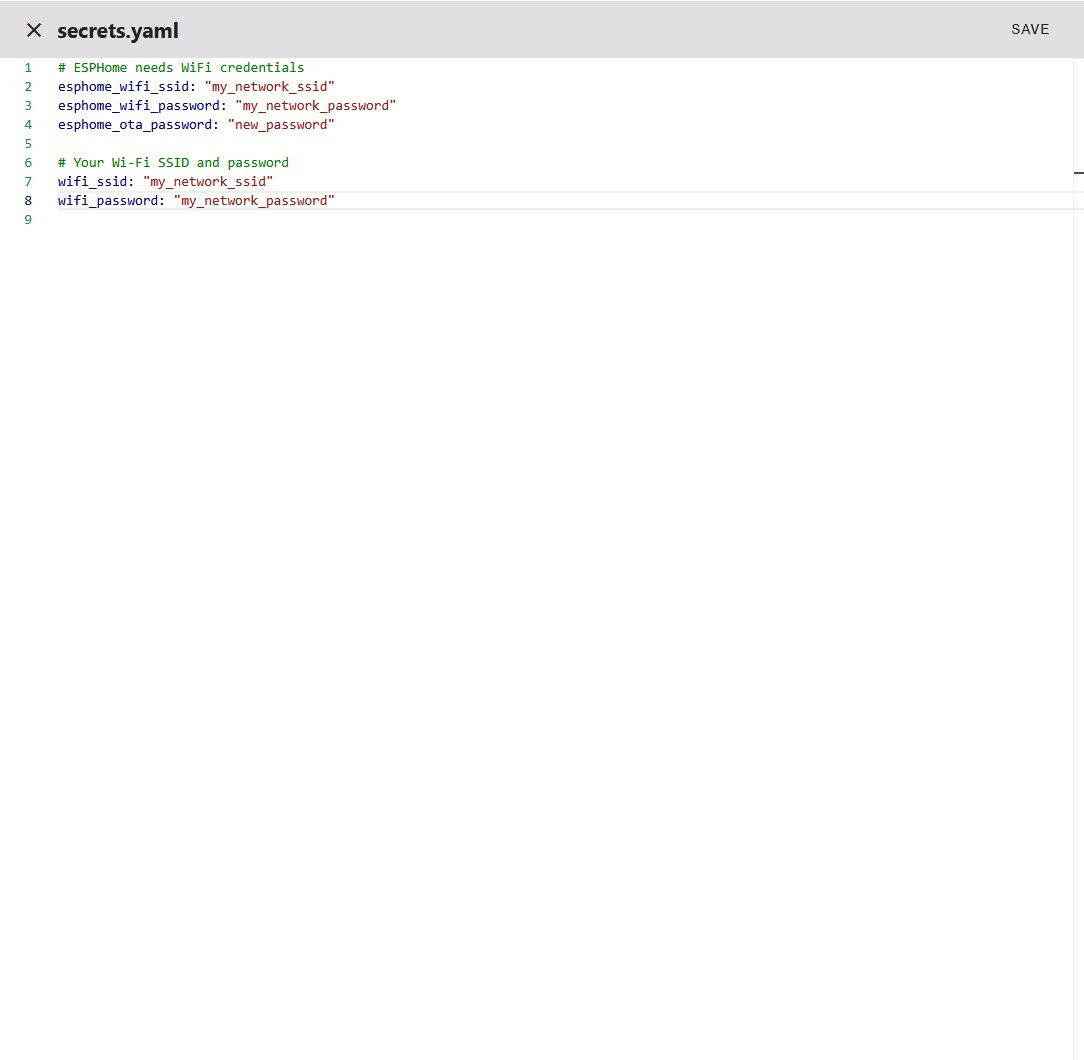
Click SAVE
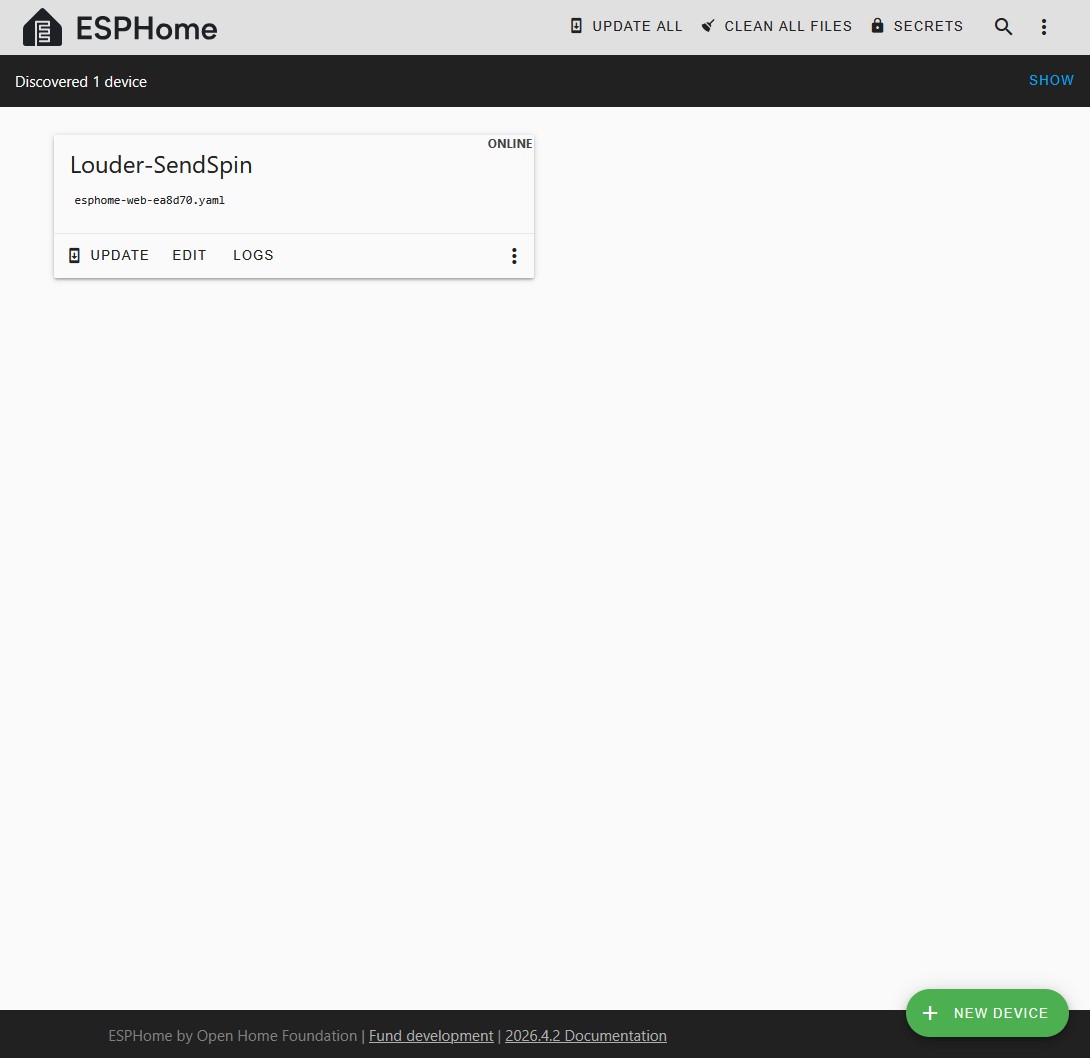
in the black bar across the top, it should say it has discovered your new advice - Click SHOW on the far right side
Your new controller will have it's own box
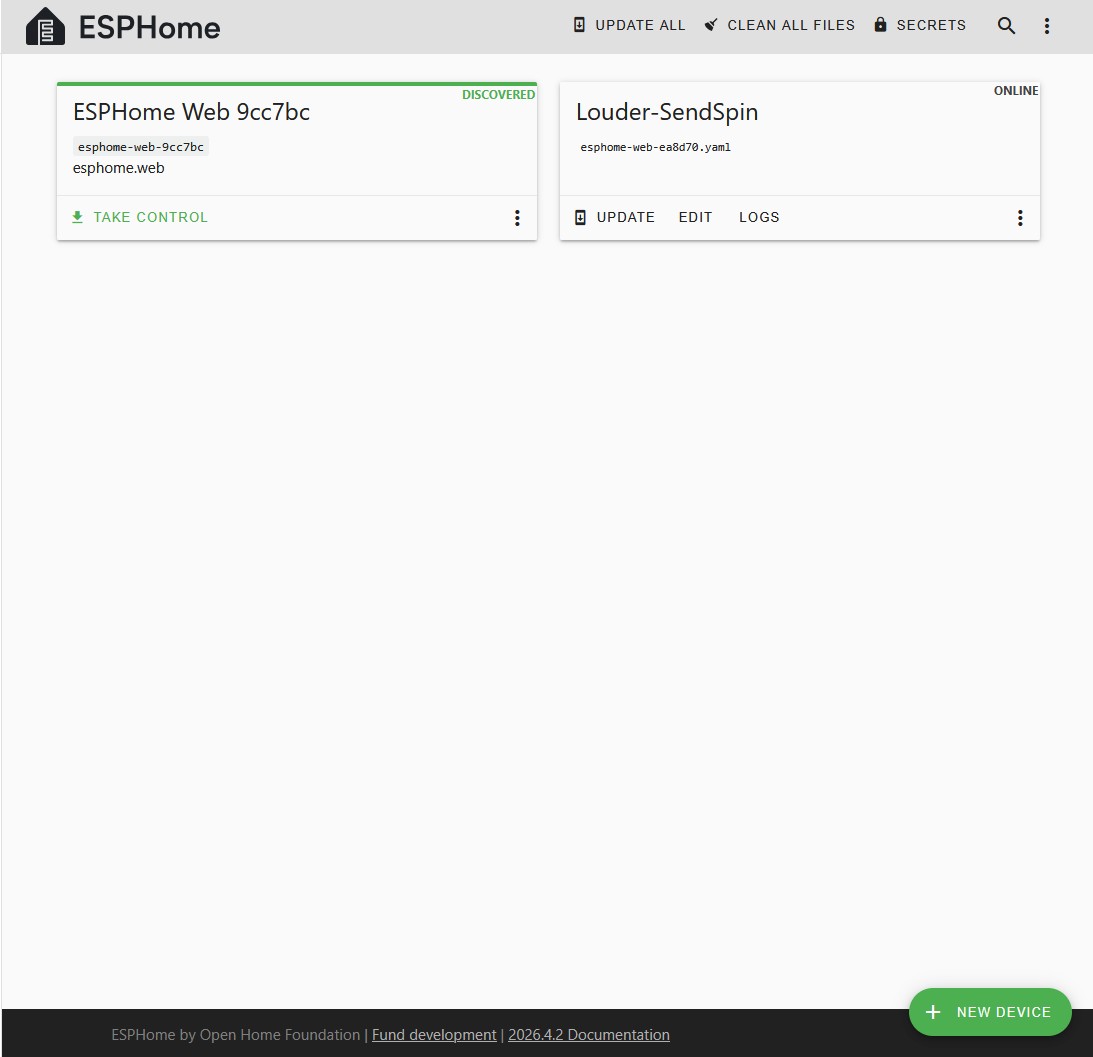
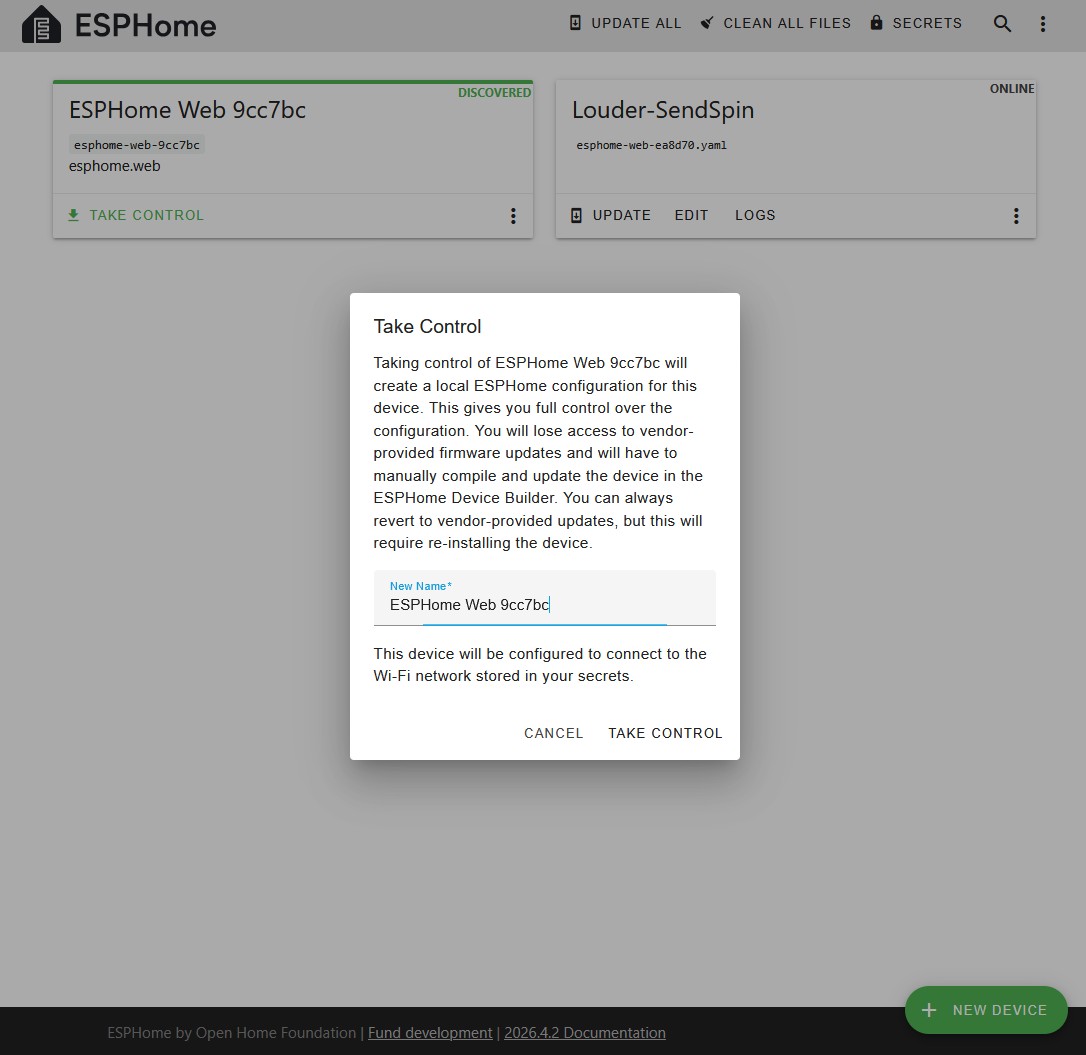
Click "TAKE CONTROL"
Acknowledge the warnings and Click TAKE CONTROL in the new popup box
in the next popup box "Configuration Created" - Do NOT Click INSTALL - Click SKIP instead
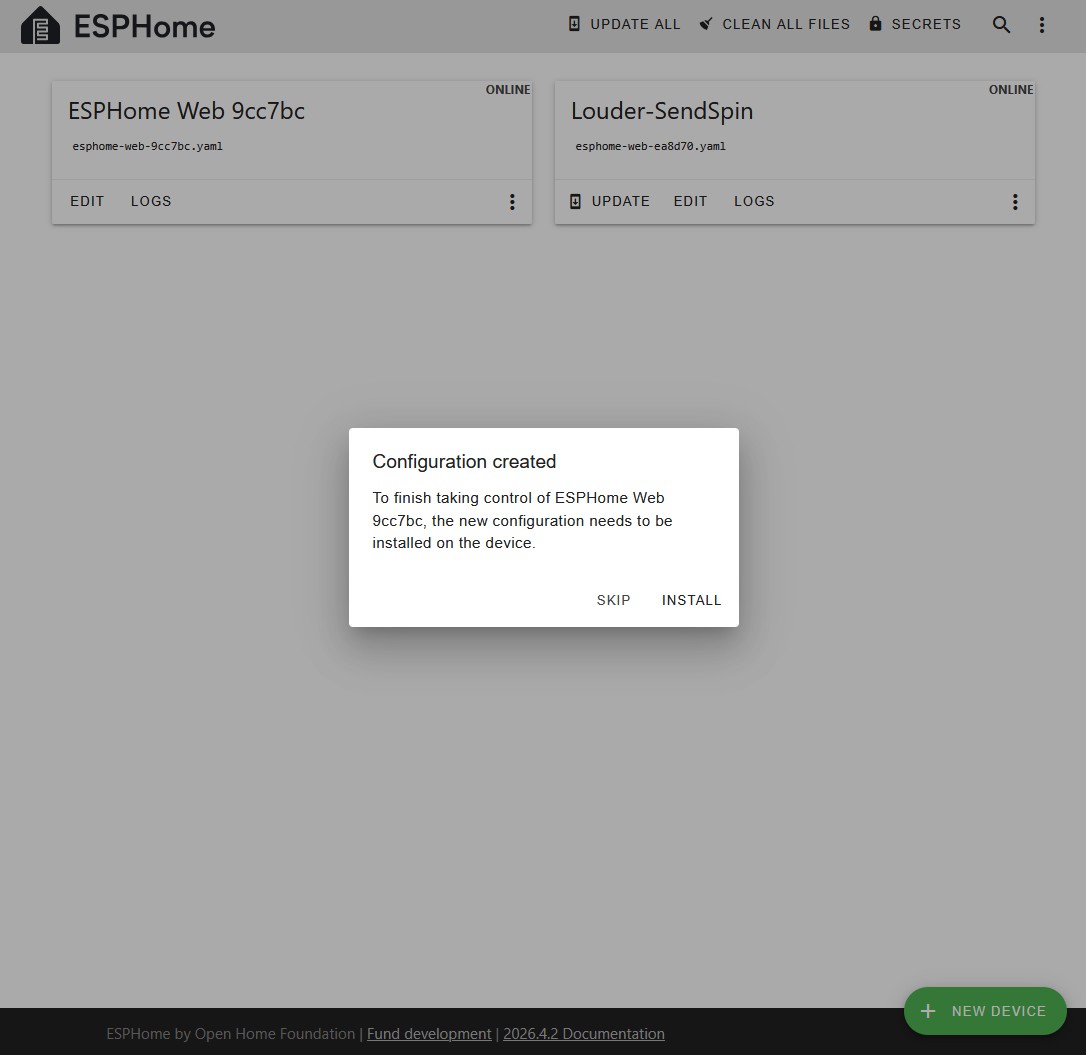
You will return to the main window
You new device will now have TWO options on the bottom: EDIT and LOGS
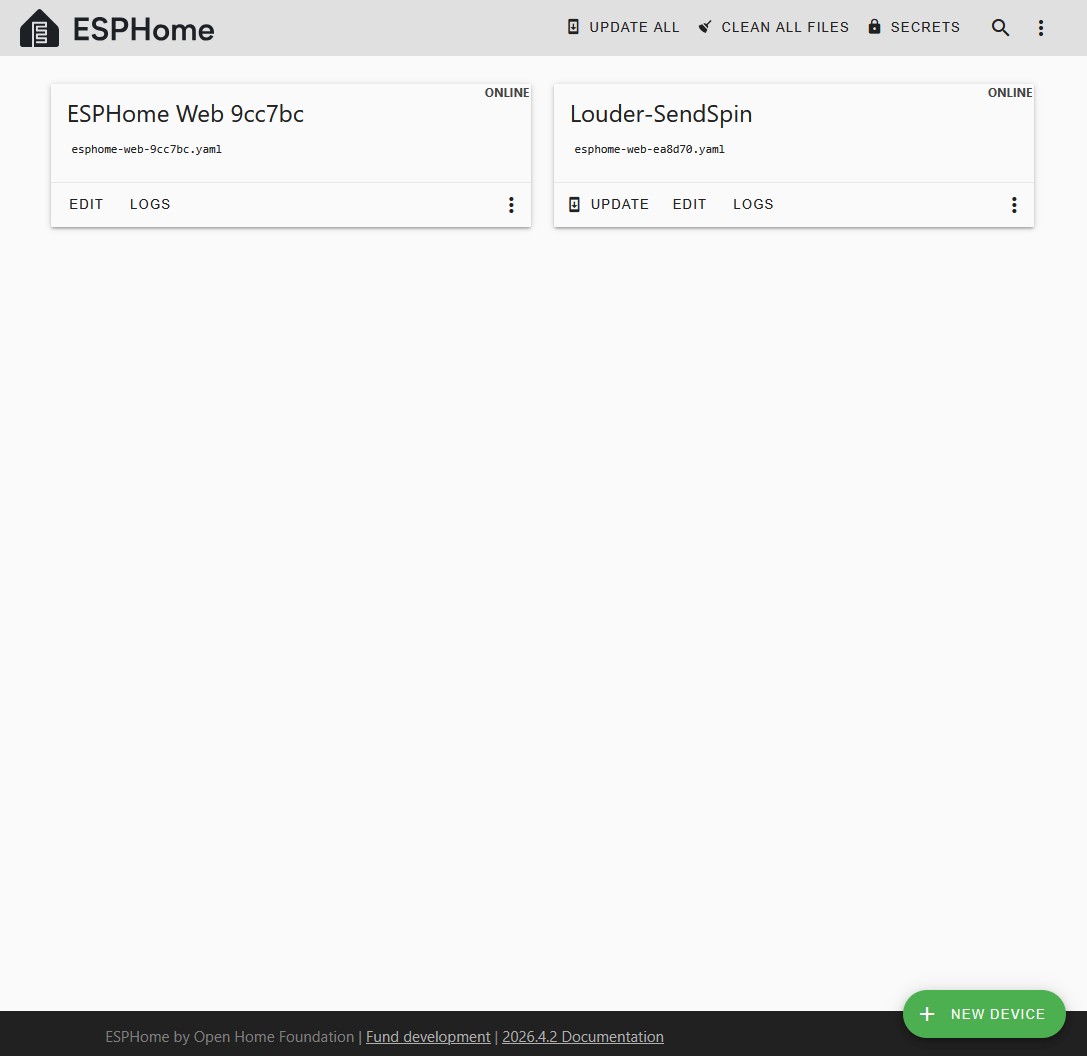
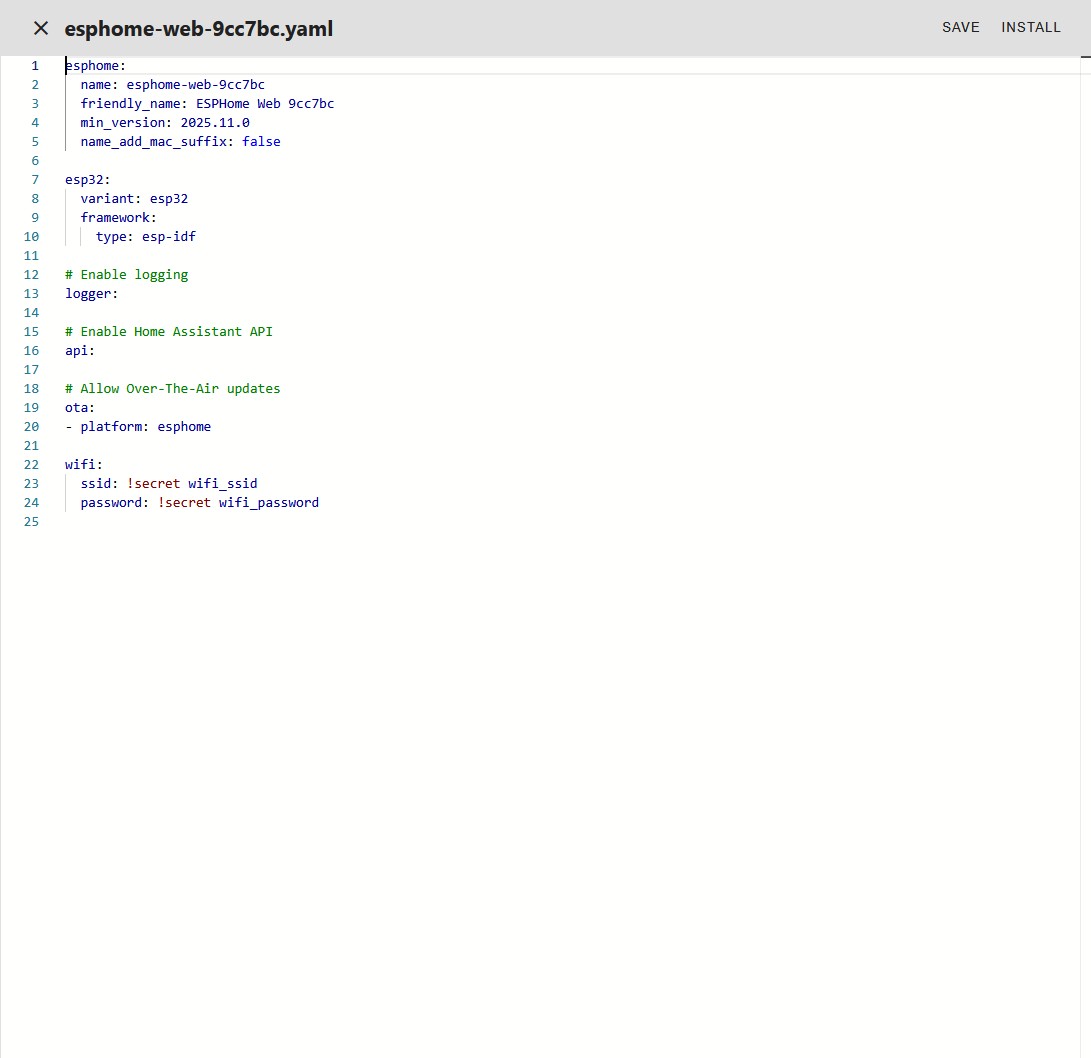
Click EDIT
The new screen will show up with basic YAML configuration code already prepared - we will not need this.
DELETE ALL the lines in this yaml file
Go back to your text editor with the YAML file you created in STEP 3
COPY ALL lines from that YAML file
PASTE ALL lines into the ESPHome screen
Click SAVE in the upper right corner
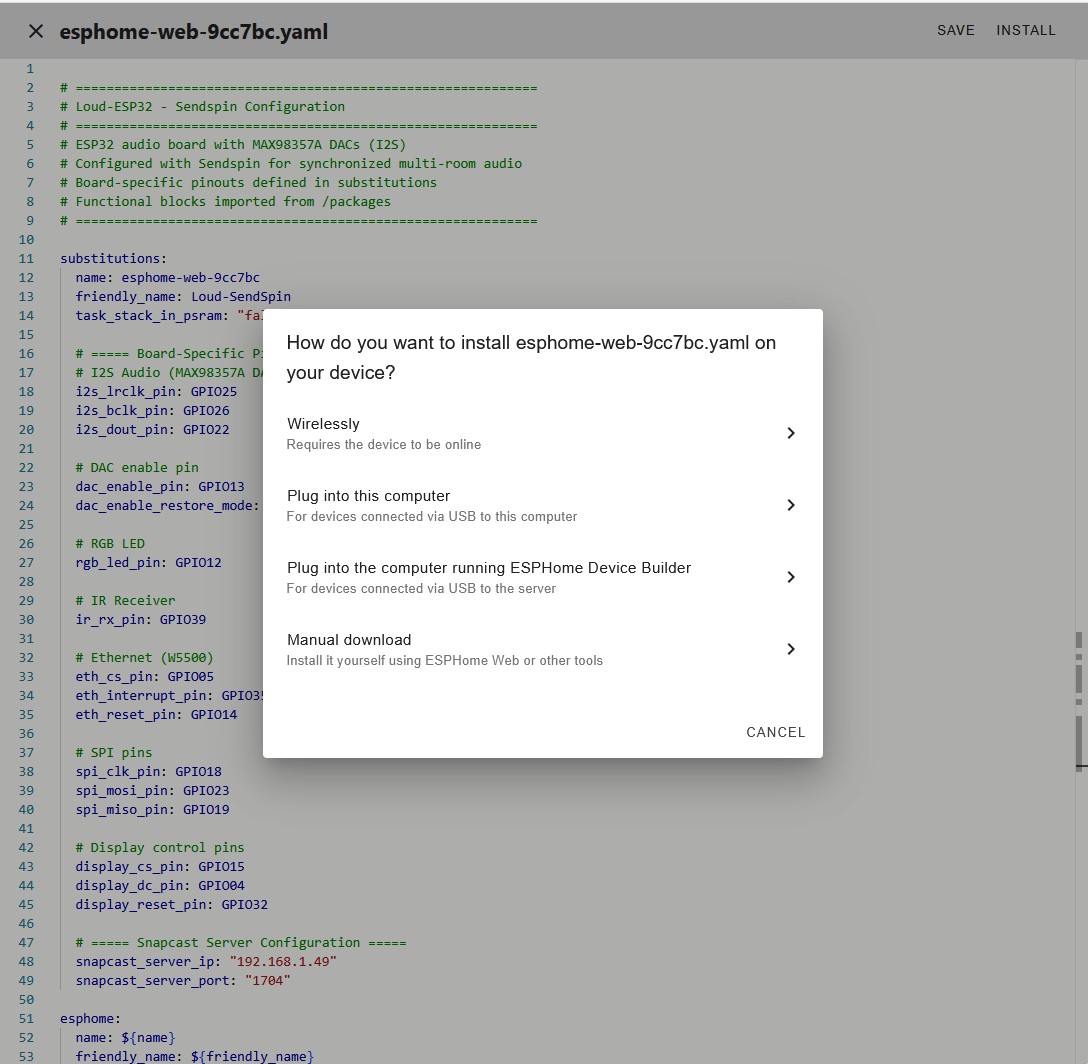
Click INSTALL in the upper right corner
Click Wirelessly in the new popup box
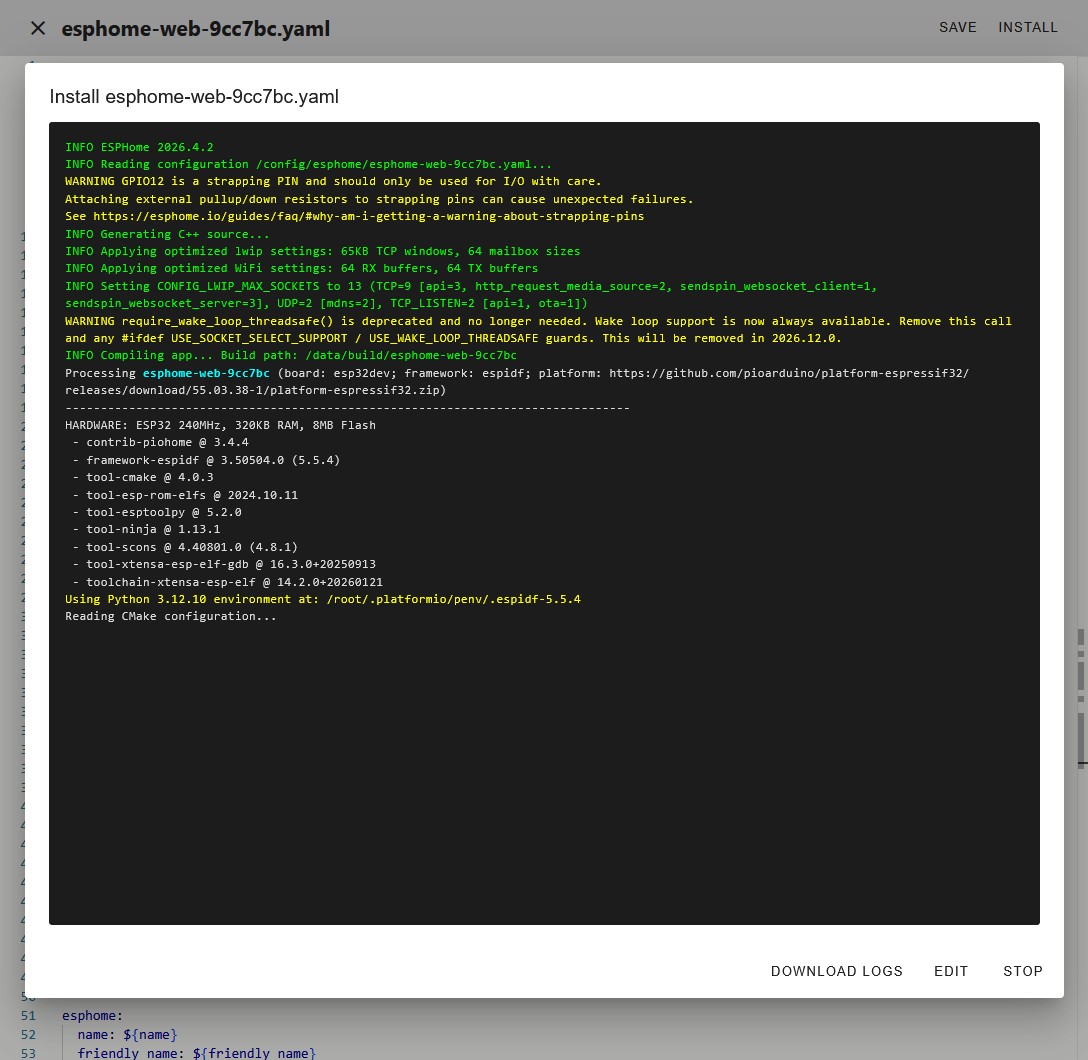
WHEW --- Your work is done; Time for HA to compile and install the firmware
The Log screen will pop up and you'll see the screen quickly fill to the last line "Reading CMAKE Configuration...."
This is when everything gets really, really slow, do not be alarmed if nothing changes for 5 or more minutes as the compiler begins preparing.
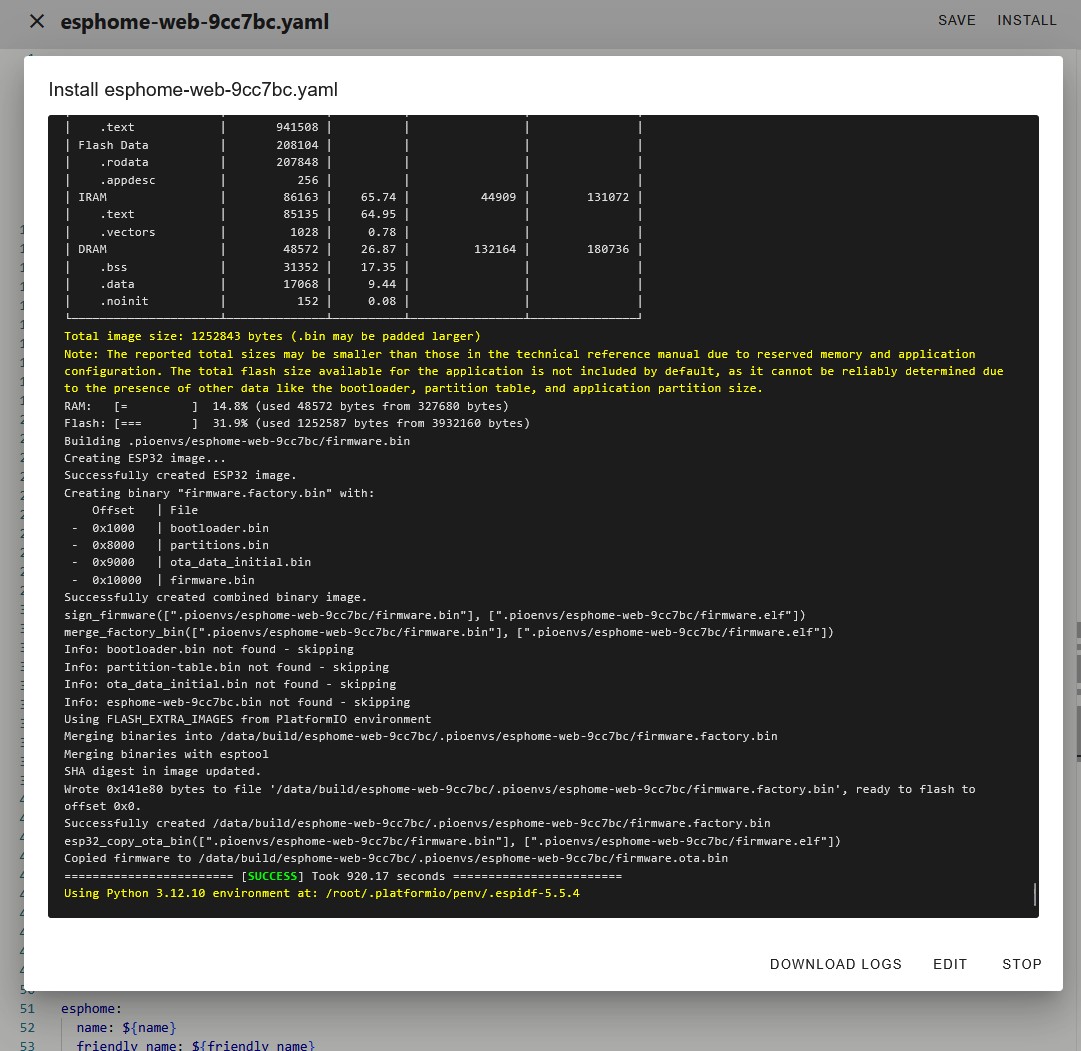
After what seems like an eternity, you will see the screen begin to fill up with hundreds of lines as it reads each component of the code library.
When it finishes (see the second to last line - TOOK 920.17 SECONDS ) you will see the summary report
Several lines in this summary should start with "Successfully created..."
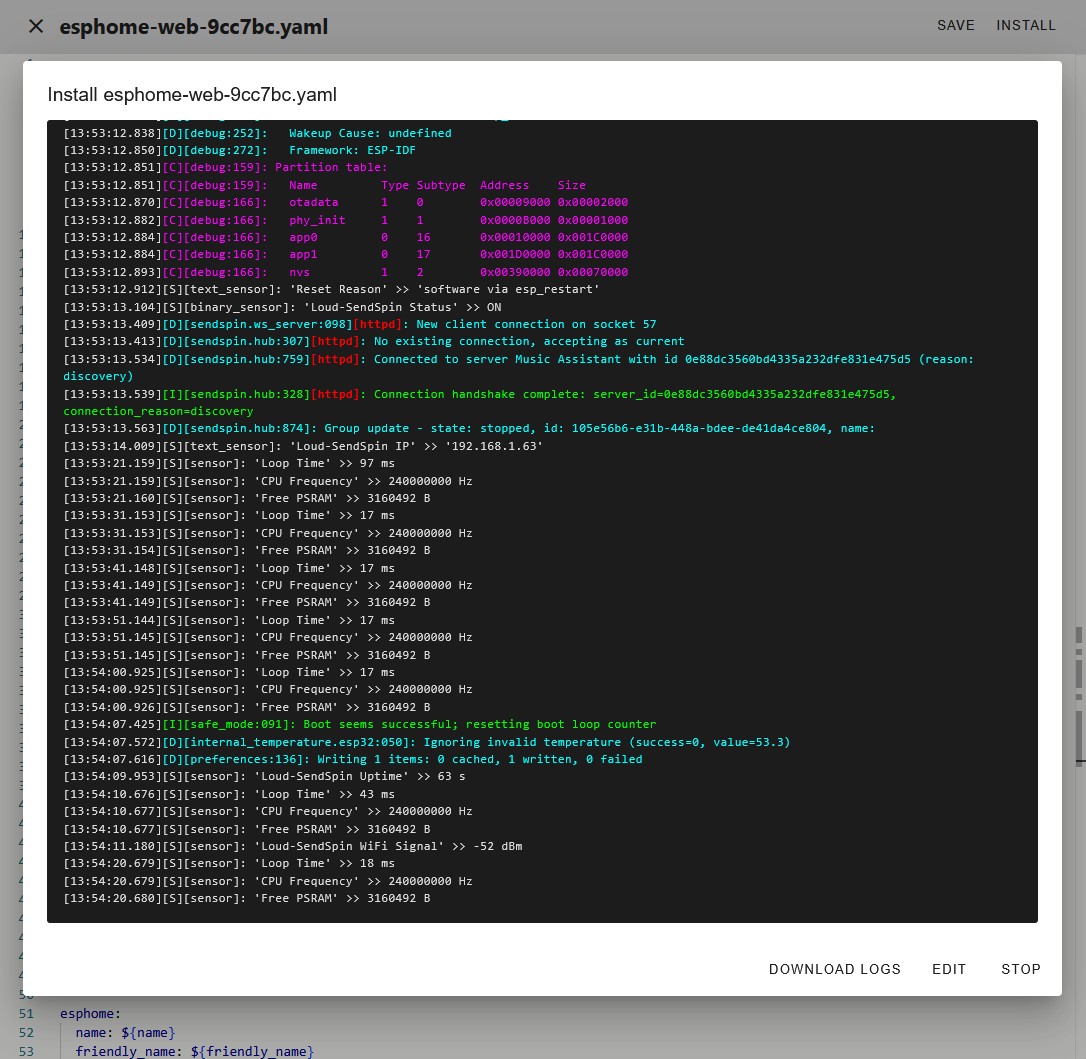
If everything works, your device will reboot and you'll see a screen similar to below.
NOTE - if you changed the logger_level from DEBUG to something else, you will not see most of this
But, you should see the messages showing SendSpin is up and running.
OPTIONAL - You may want to keep this screen open - while you open another window with Music Assistant to start using your new SendSpin speaker. It can be interesting to follow the status messages as you begin to stream audio.
When you're finished - Click STOP and your done.
Build dated 2026-06-15 | HouseWaves, Smarter Home Audio. Copyright, 2026.